What you need
To get started with BillBook POS, you need:
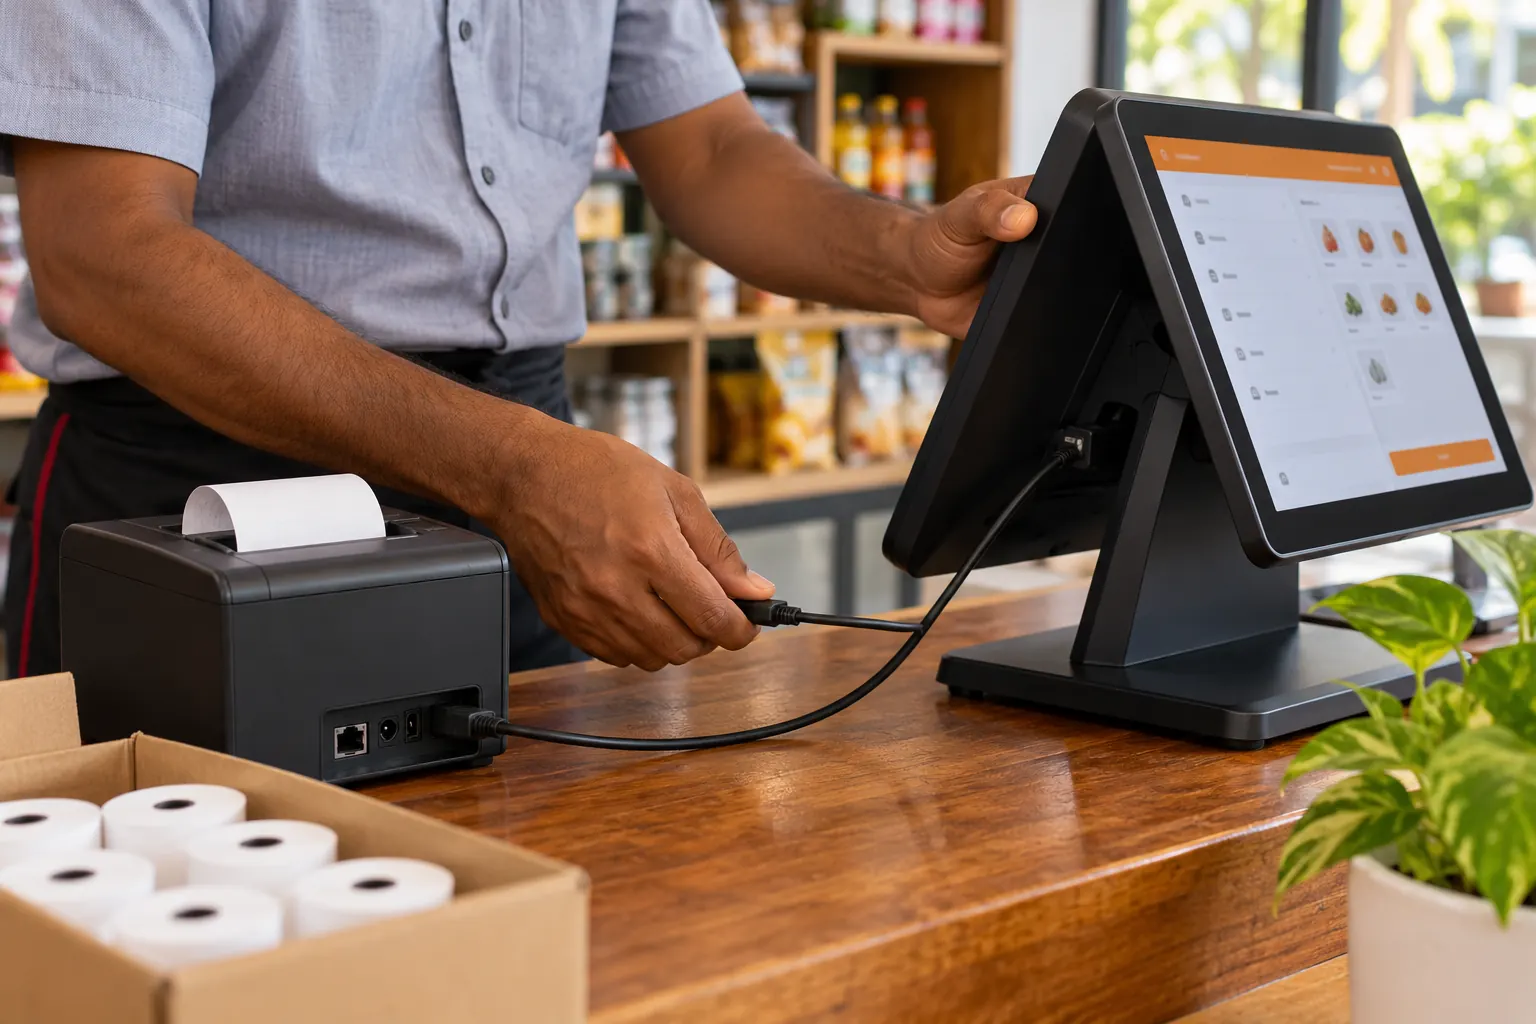
- A computer, tablet, or touch screen
- An internet connection
- A BillBook account (free to register)
Optional hardware (available in our shop):
- USB barcode scanner
- Thermal receipt printer
- Cash drawer
Step 1: register your business
Go to app.billbook.lk and click Register Business. Fill in your business name, currency (LKR), and owner details.
Step 2: add your products
Go to Products → Add Products. Enter the product name, selling price, and barcode (scan it with your scanner or type it manually).
Step 3: set up your POS
Go to Sell → POS. Your products will appear in the grid. You're ready to make your first sale.
Step 4: connect hardware (optional)
- Barcode Scanner: Just plug it in via USB — no drivers needed for most models
- Receipt Printer: Go to Settings → Business Locations → set Receipt Printer Type to Browser-Based Printing
That's it. You can be up and running in under an hour.
Start free today
No card needed, and the Free plan has no time limit. Set up in minutes and upgrade when you're ready.